Hello Everyone,
On this post I will explain how to deploy NutanixCE on 3 Intel NUC.
Deploy NutanixCE on Intel NUC :
Before start we should have 3 USB flash, download a files from Nutanix Community
Step 1 : Prepare the USB Boot (1 USB for each Intel NUC)
1- Go to http://www.nutanix.com/products/community-edition/
2- Register to join the Community
3- Download the Nutanix CE Image file ce-2017.05.22-stable.img.gz
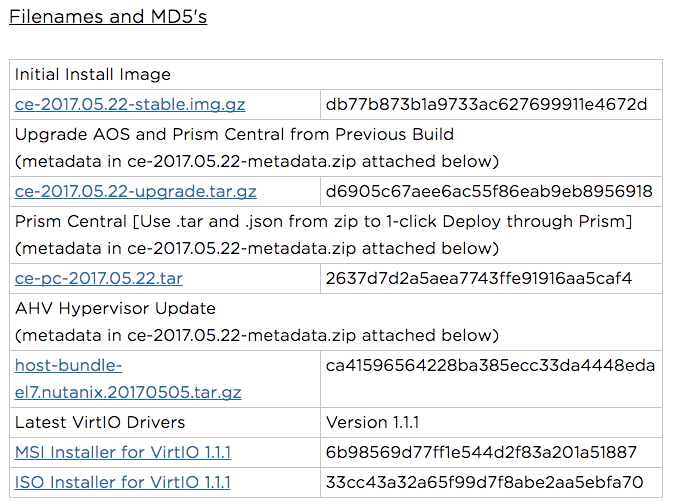
4- Download Rufus to create USB Boot https://rufus.akeo.ie/
5- Create Nutanix CE USB Boot
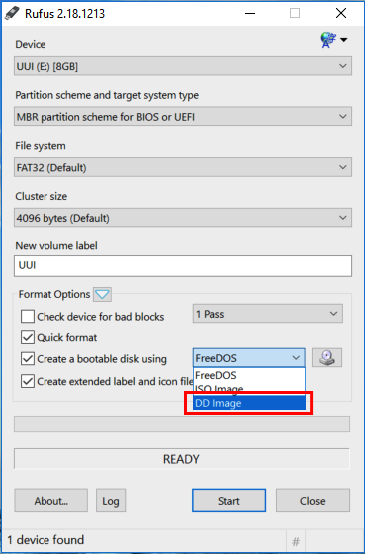
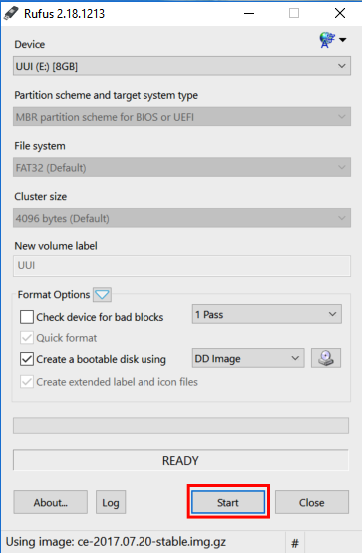
5.1 Run Rufus
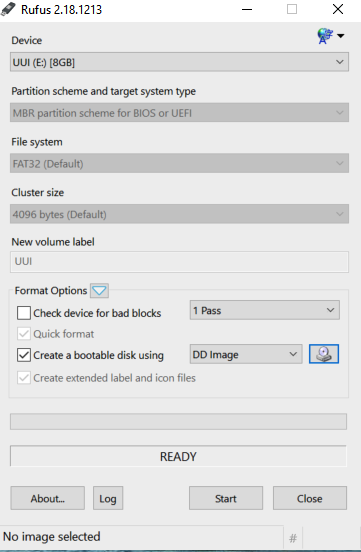
5.2 Select DD Image
5.3 Select ce-2017.05.22-stable.img.gz file
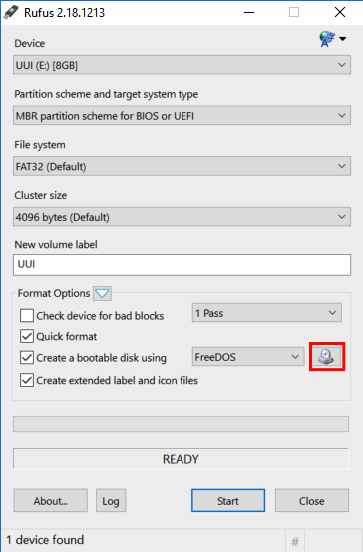

5.4 Start to burn the NutanixCE Image
Repet this step 3 times for each Intel NUC.
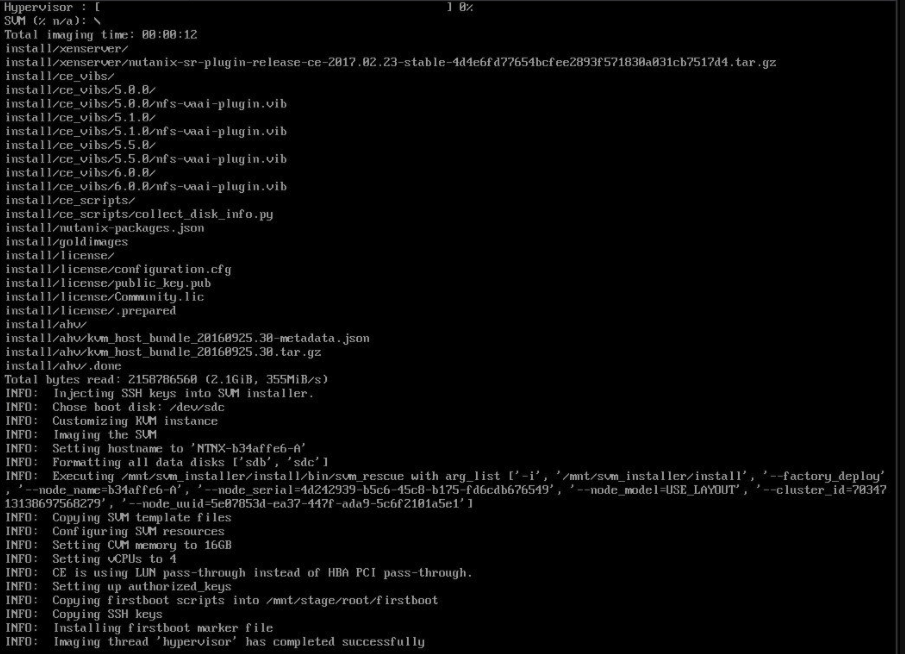
Step 2 : Deploy NutanixCE on 3 Intel NUC
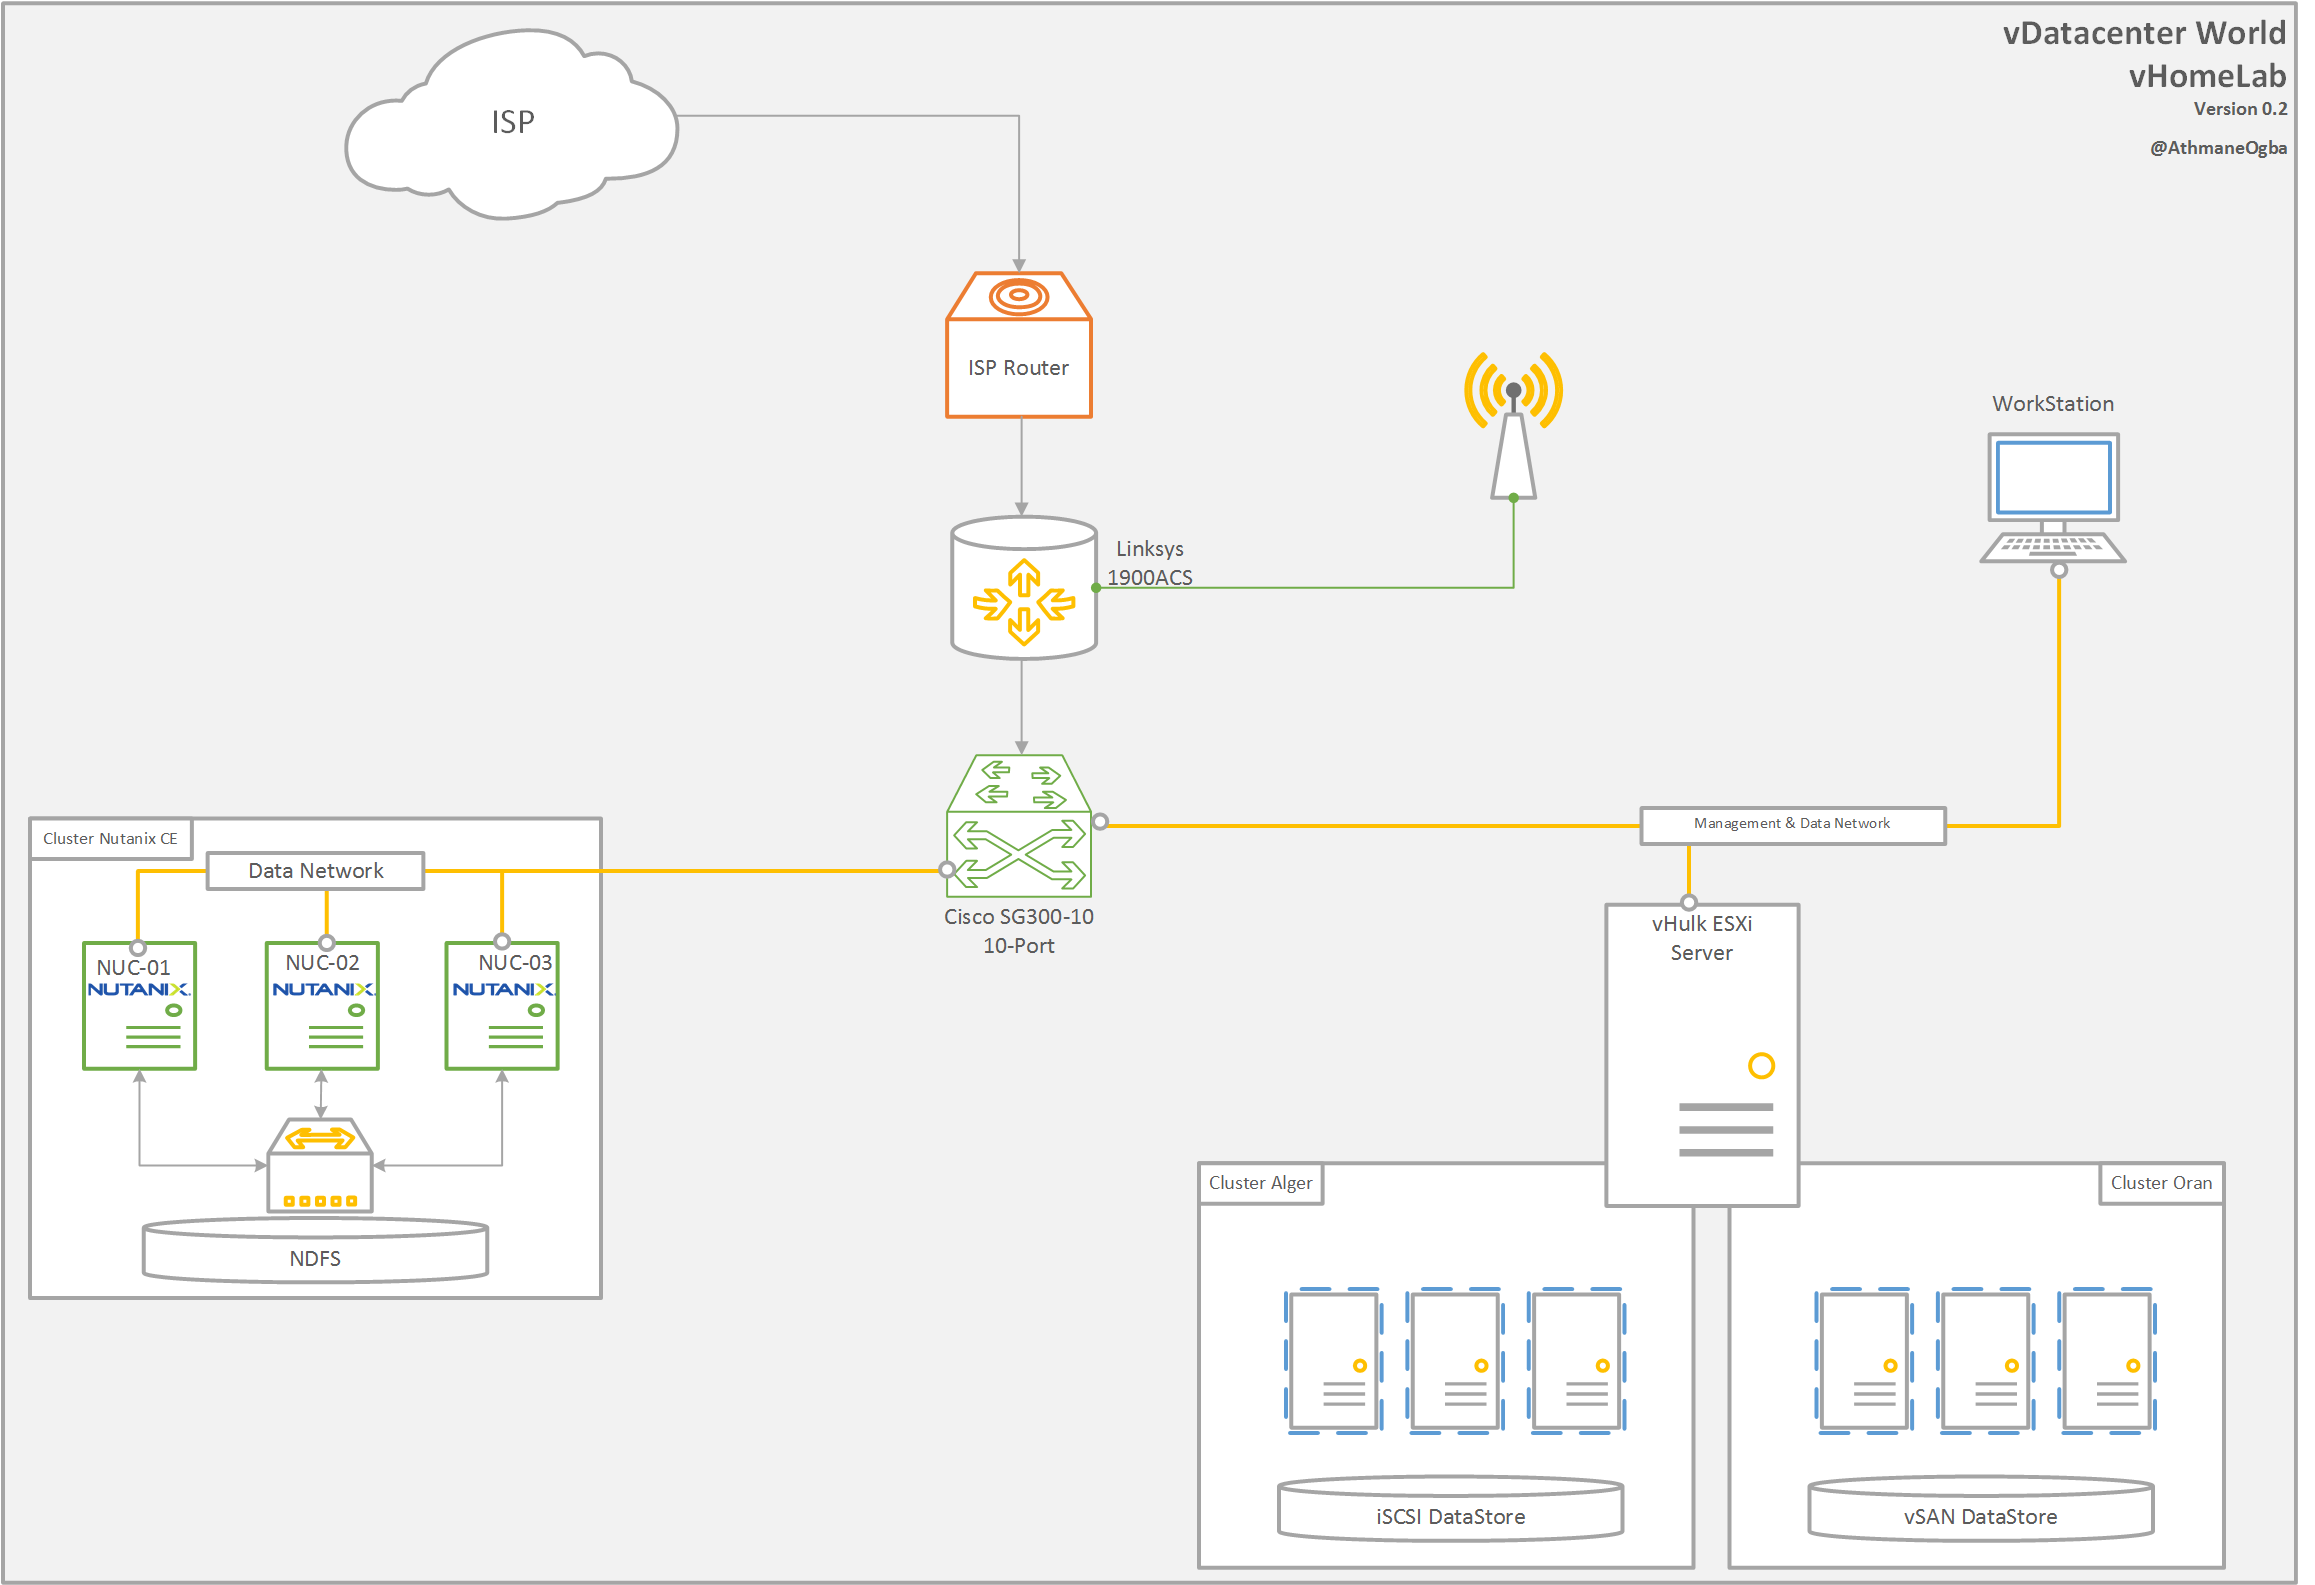
My HomeLab Design Architecture
2.1 The 3 Intel NUC will be configured as below
Host : nx01 IP/mask 192.168.30.21/24 CVM IP/mask 192.168.30.31/24
Host : nx02 IP/mask 192.168.30.22/24 CVM IP/mask 192.168.30.32/24
Host : nx03 IP/mask 192.168.30.23/24 CVM IP/mask 192.168.30.33/24
- The configuration of the Intel NUC D54250WYKH2 i5 4250, 16 GB RAM, Disk 512GB mSATA, HDD 1 TB, I should modify the NutanixCE configuration file
If during the deployment you got stuck and you recieve the CPU or Memory error you go to /home/install/phx_iso/phoenix/ and edit minimum_reqs.py and you disable the configuration check.
- Connect to your physical host using SSH (login: root | Password: nutanix/4u)
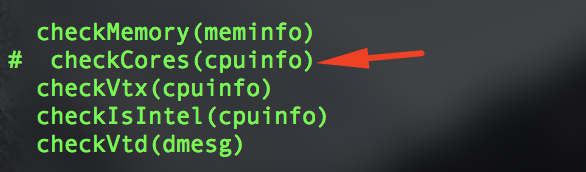
- vi /home/install/phx_iso/phoenix/minimum_reqs.py

3. comment checkCores
4. back to Login prompt
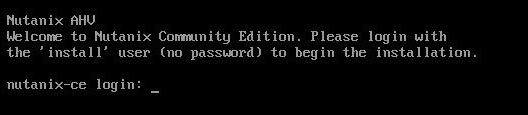
5. login with install to start the deployment
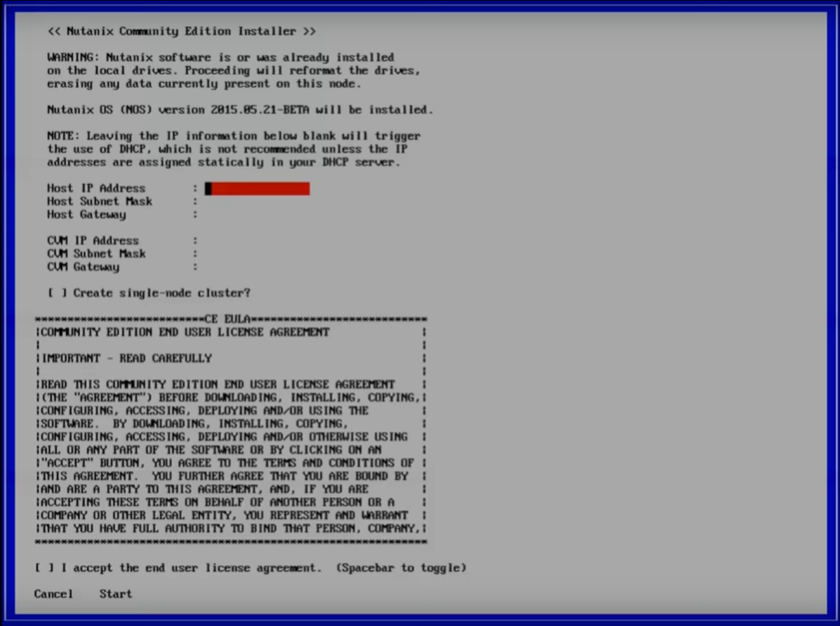
6. Add the IP\Mask for the Host and CVM
Do not select Create single-node cluster
Once the deployment is done we proceed to modify the CVM memory size
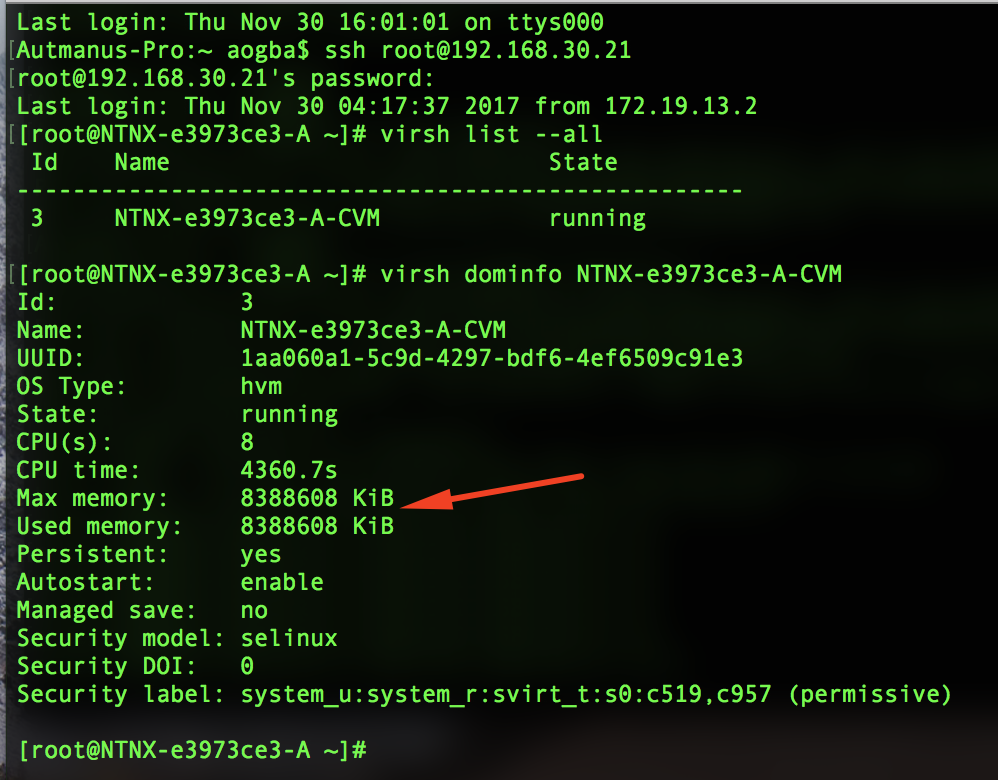
7. Changing the CVM memory
- Connect to Physical host using SSH (login: root | Password: nutanix/4u)
- Set up the CVM memory
- virsh list –all
- virsh shutdown <CVM-Name>
- virsh setmem <CVM-Name> 8G –config
- virsh setmaxmem <CVM-Name> 8G –config
- virsh start <CVM-Name>
- virsh list –all, to make sure CVM is back up and running
- virsh dominfo <CVM-Name> to confirm the memory size
Step 3 : Creating the NutanixCE Cluster
- Connect to CVM using SSH (login: nutanix | Password: nutanix/4u)
- Creating the Cluster
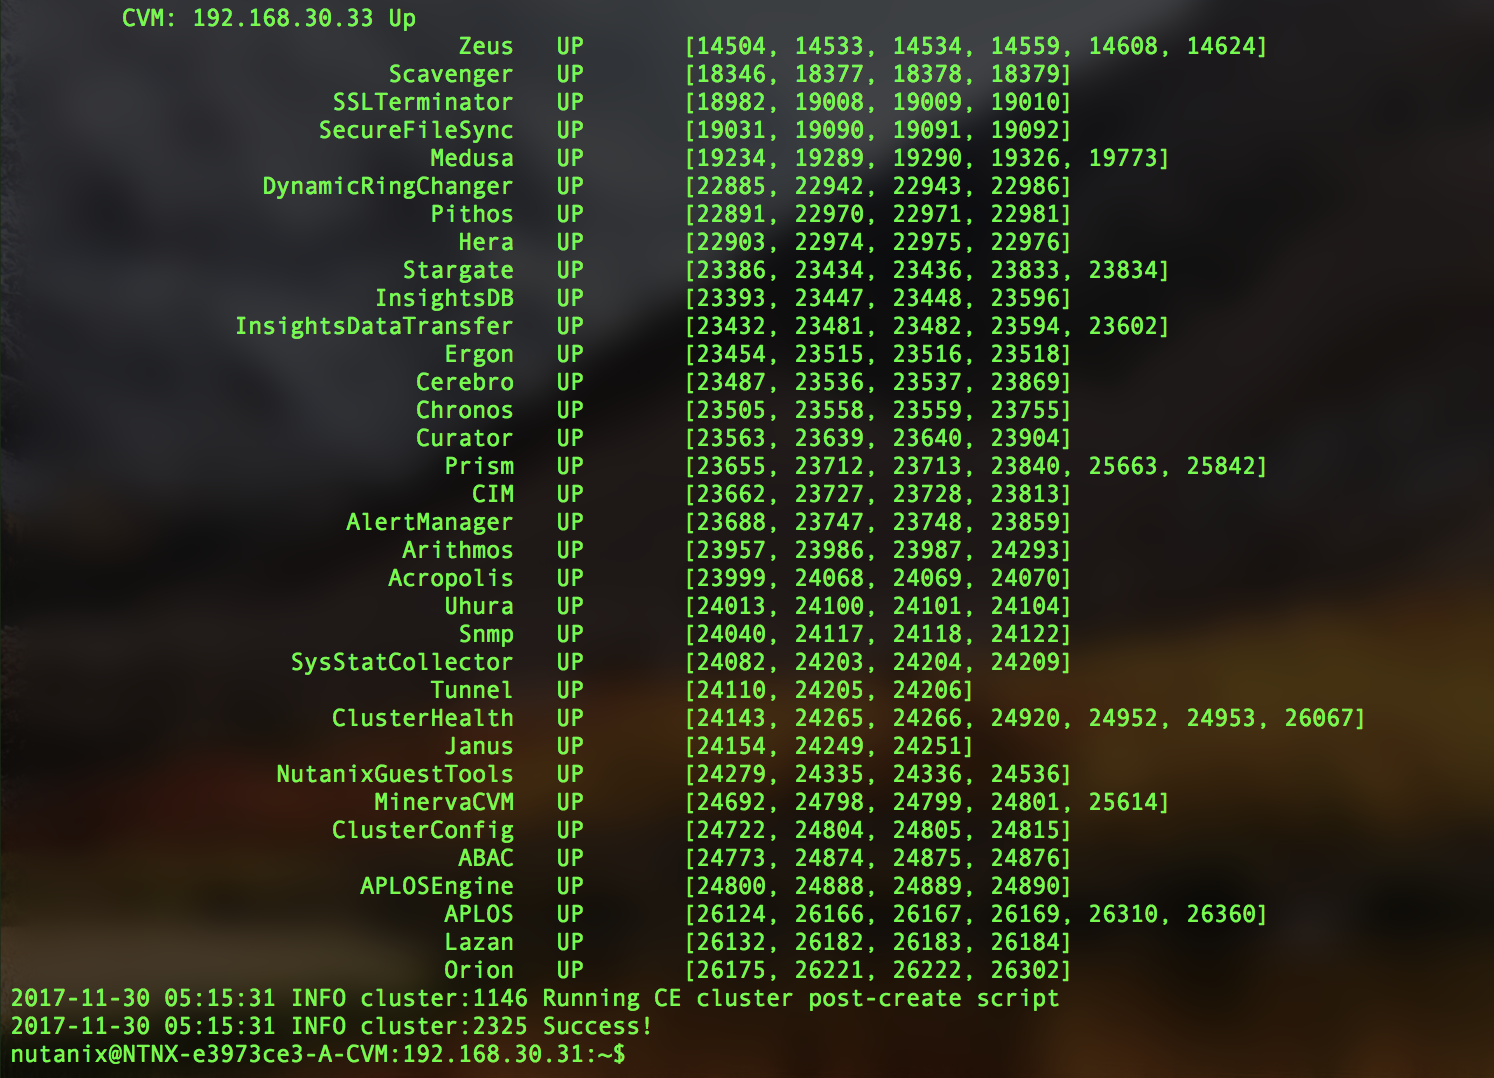
cluster –dns_servers=192.168.201.2 –ntp_servers=192.168.201.10 –redundancy_factor=2 -s 192.168.30.31,192.168.30.32,192.168.30.33 –cluster_name=MyNuHomeLab –cluster_external_ip=192.168.30.30 create
The Cluster is created successfuly
- Open Navigator https://CVM-Cluster-IP:9440
Welcome to PRISM 🙂
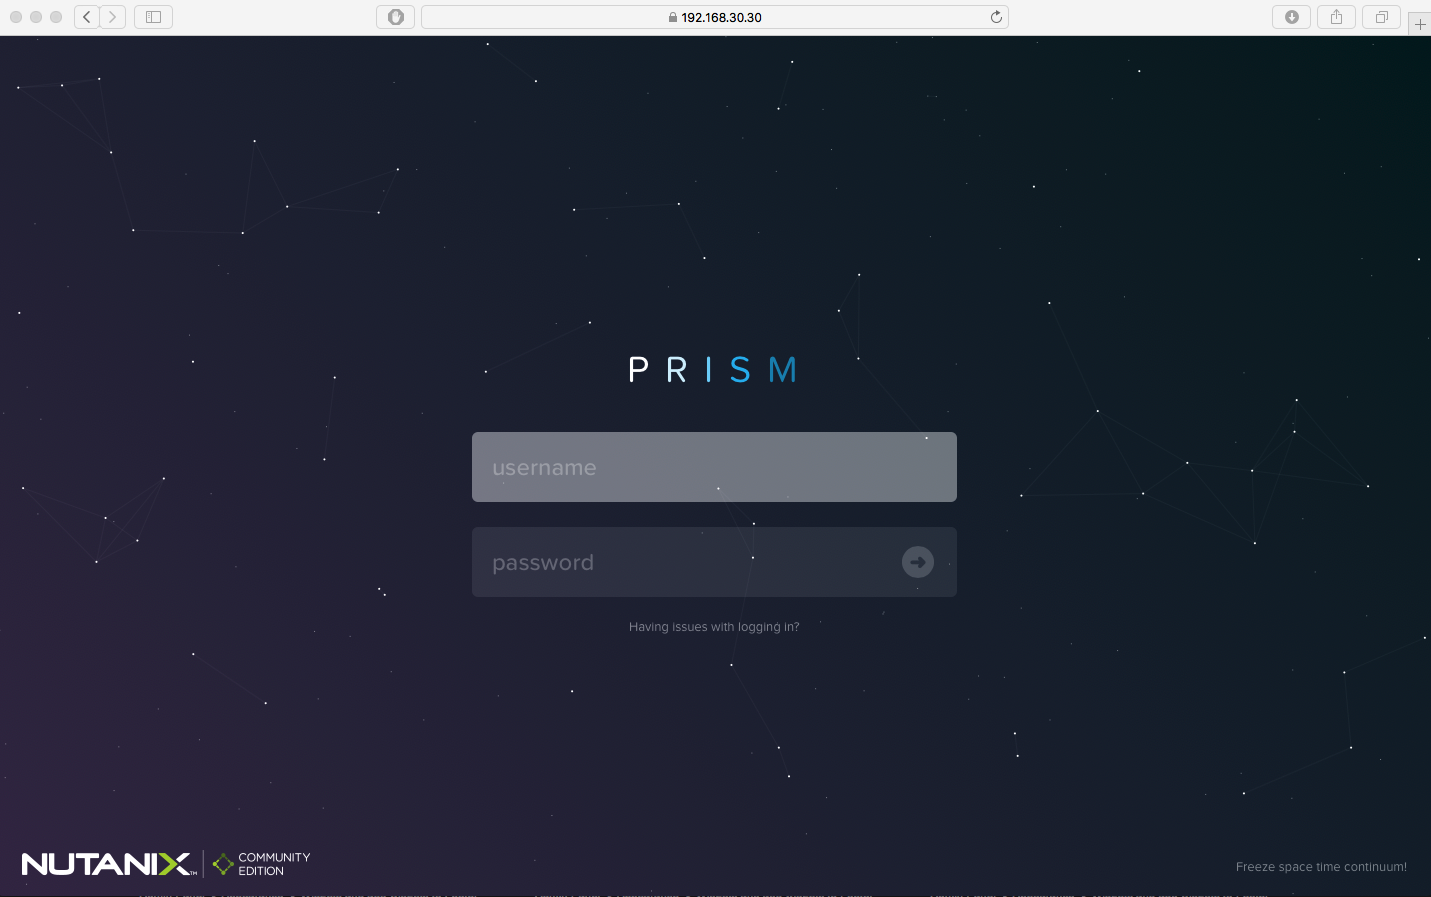
- Default login\password (admin\admin)

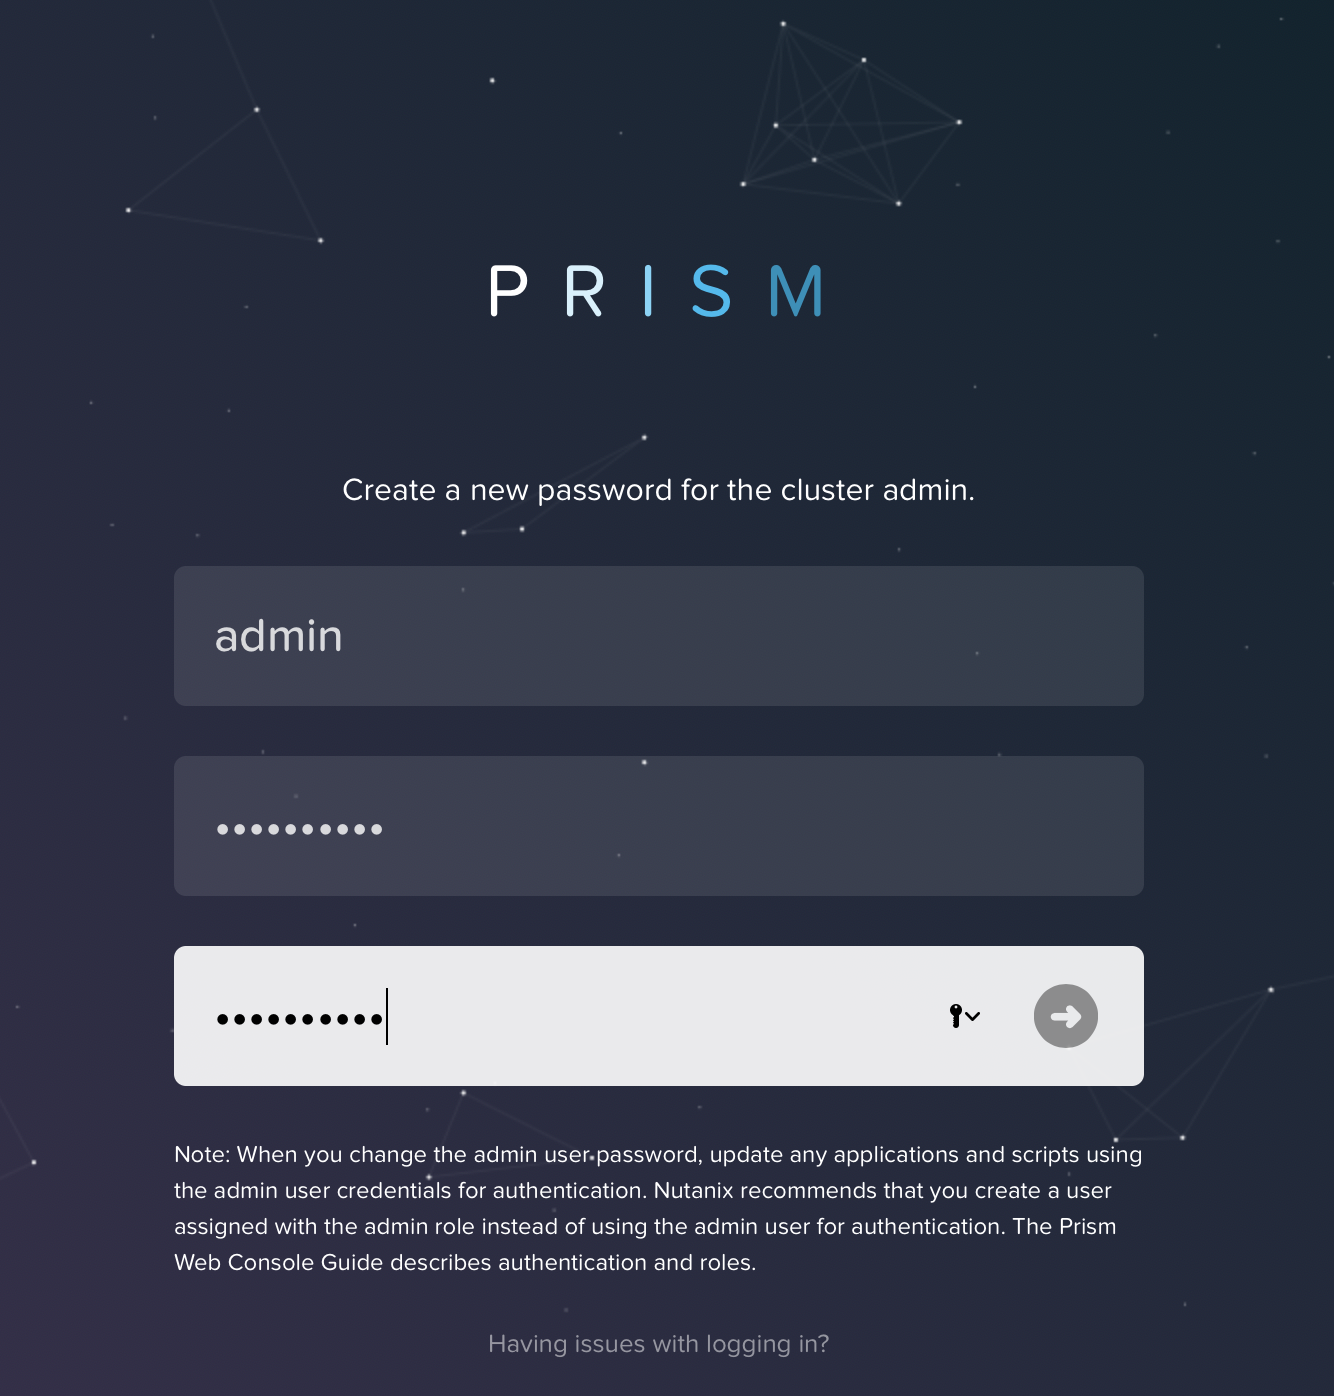
- Change the Password
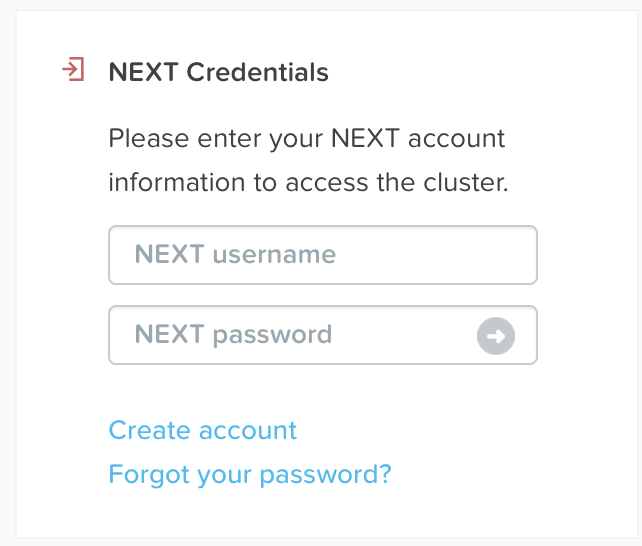
- Connect to .NEXT
Finaly the nHomeLab is UP
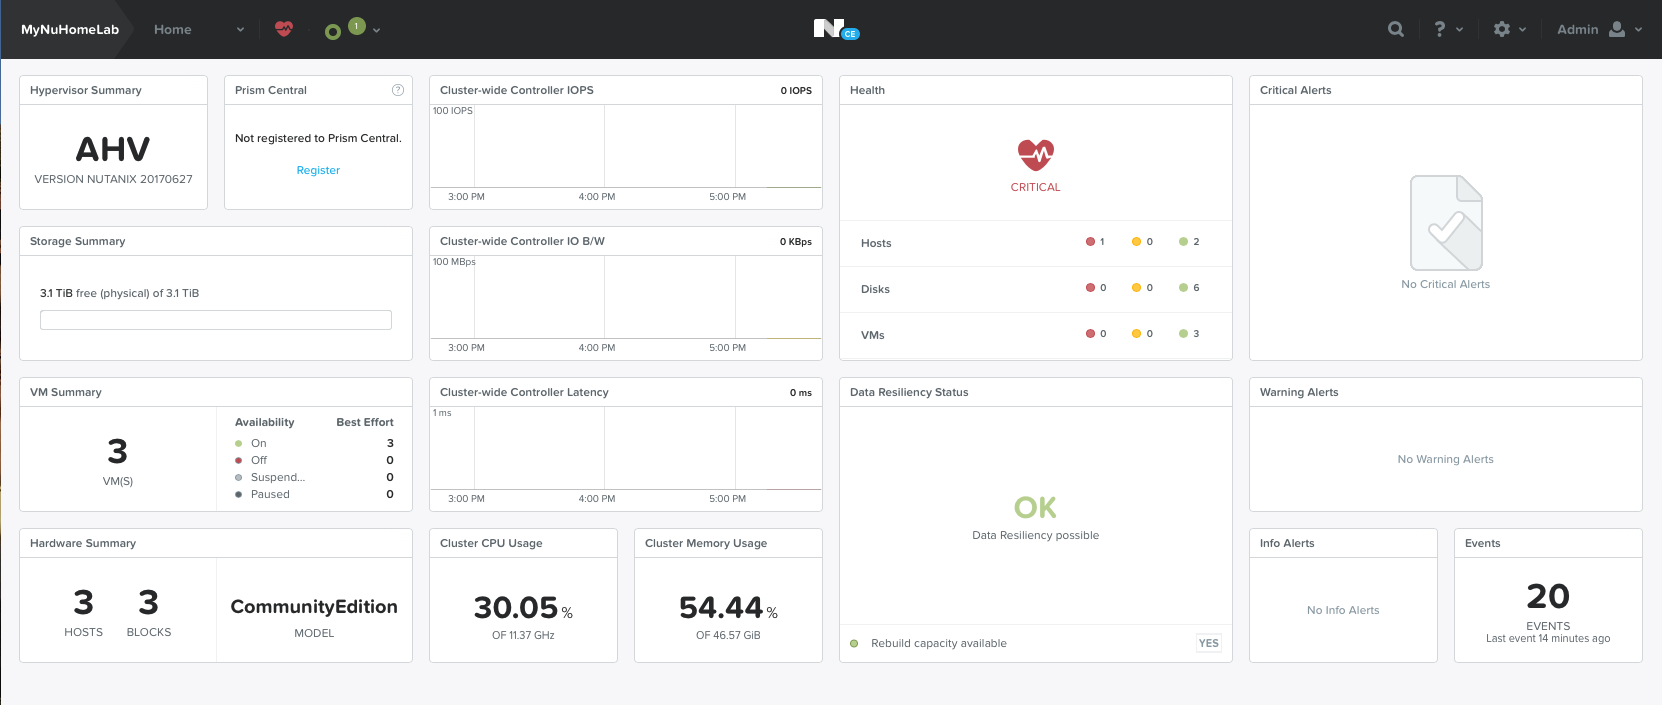
Thank You and see you soon 🙂